Rebuilding our Outdoor Shower
We purchased our home in October of 2019. It had been previously remodeled and added onto around 2000. The year 2000 still feels like yesterday, but after 20 years of wear and tear, a number of outdoor items needed to be updated and fixed. One of which was the outdoor shower. Being able to walk to the beach and the Lynnhaven River is great, but having the option of warm water to rinse off with afterwards is even better. Unfortunately I didn’t get any before photos of the old shower, but boards were severely warped, decorative lattice was breaking down, and a number of other issues were present. After I unscrewed, sawed and hammered the fence panels surrounding the shower, I was able to push a couple of the 4×4 fence posts over with hardly any force. They had rotted at the base over the years due to so much water incursion.
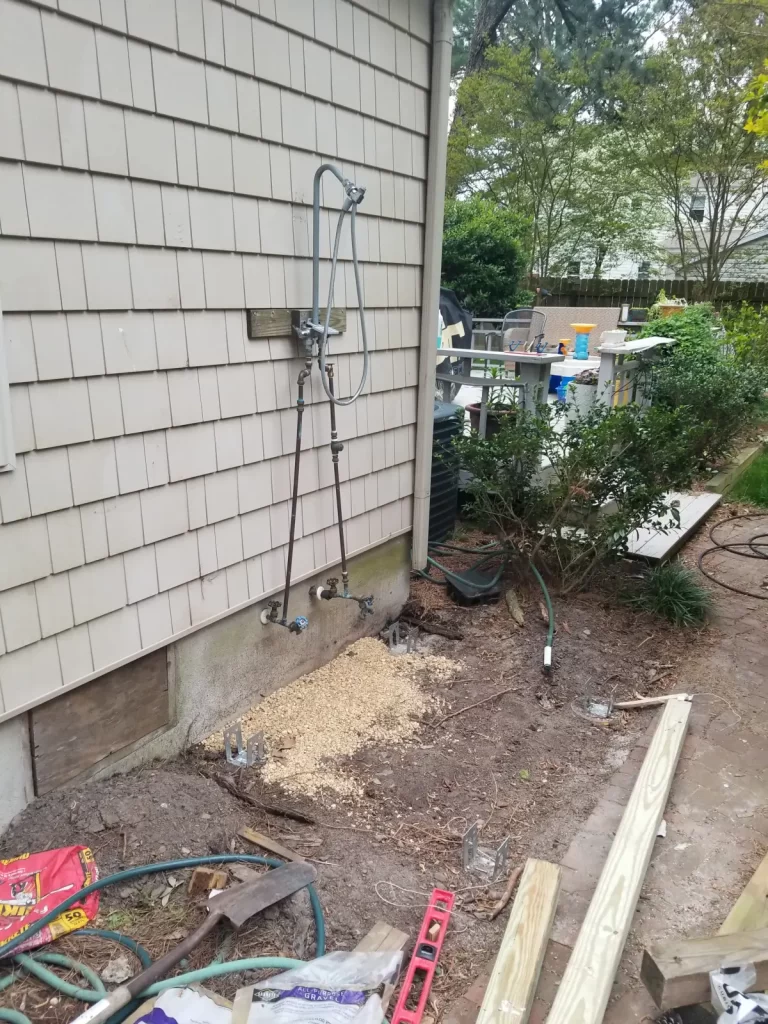
Most of the shower posts had been cemented into the ground, but unfortunately I was unable to dig out the cement closest to the brick walkway as part of the cement was under it. So I moved the location of the posts slightly and just left the old cement in the ground. Instead of putting the posts directly in the ground, I decided to pour concrete footings and place a metal post base into the concrete. This keeps water from pooling and seeping into the wood at the base if it was directly in concrete, and if we do have to replace the shower in 20 years, we can do it a lot more easily than having to dig up the old post bases like I had to before. We ended up using some Simpson Strong-Ties that have held up great so far. It isn’t as sturdy against horizontal forces than placing the posts directly into concrete, but with the panel bracing and cross bracing on the back, it should be hold up against the strong winds that we occasionally get here in Virginia Beach, especially as it isn’t that exposed to open areas.
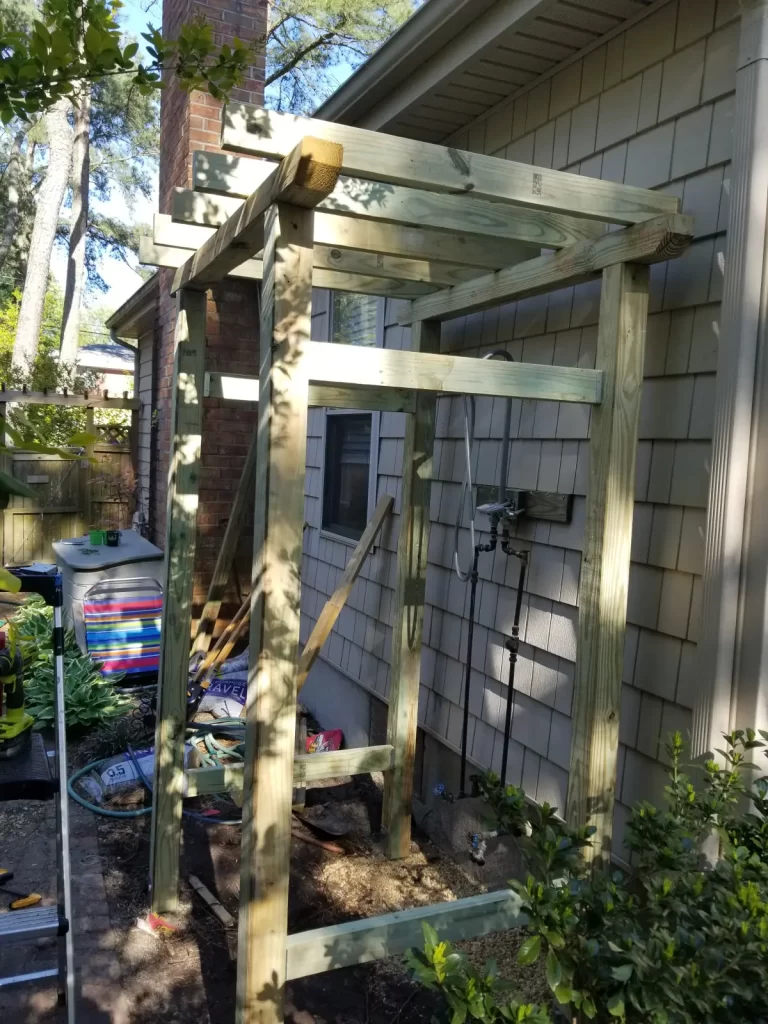
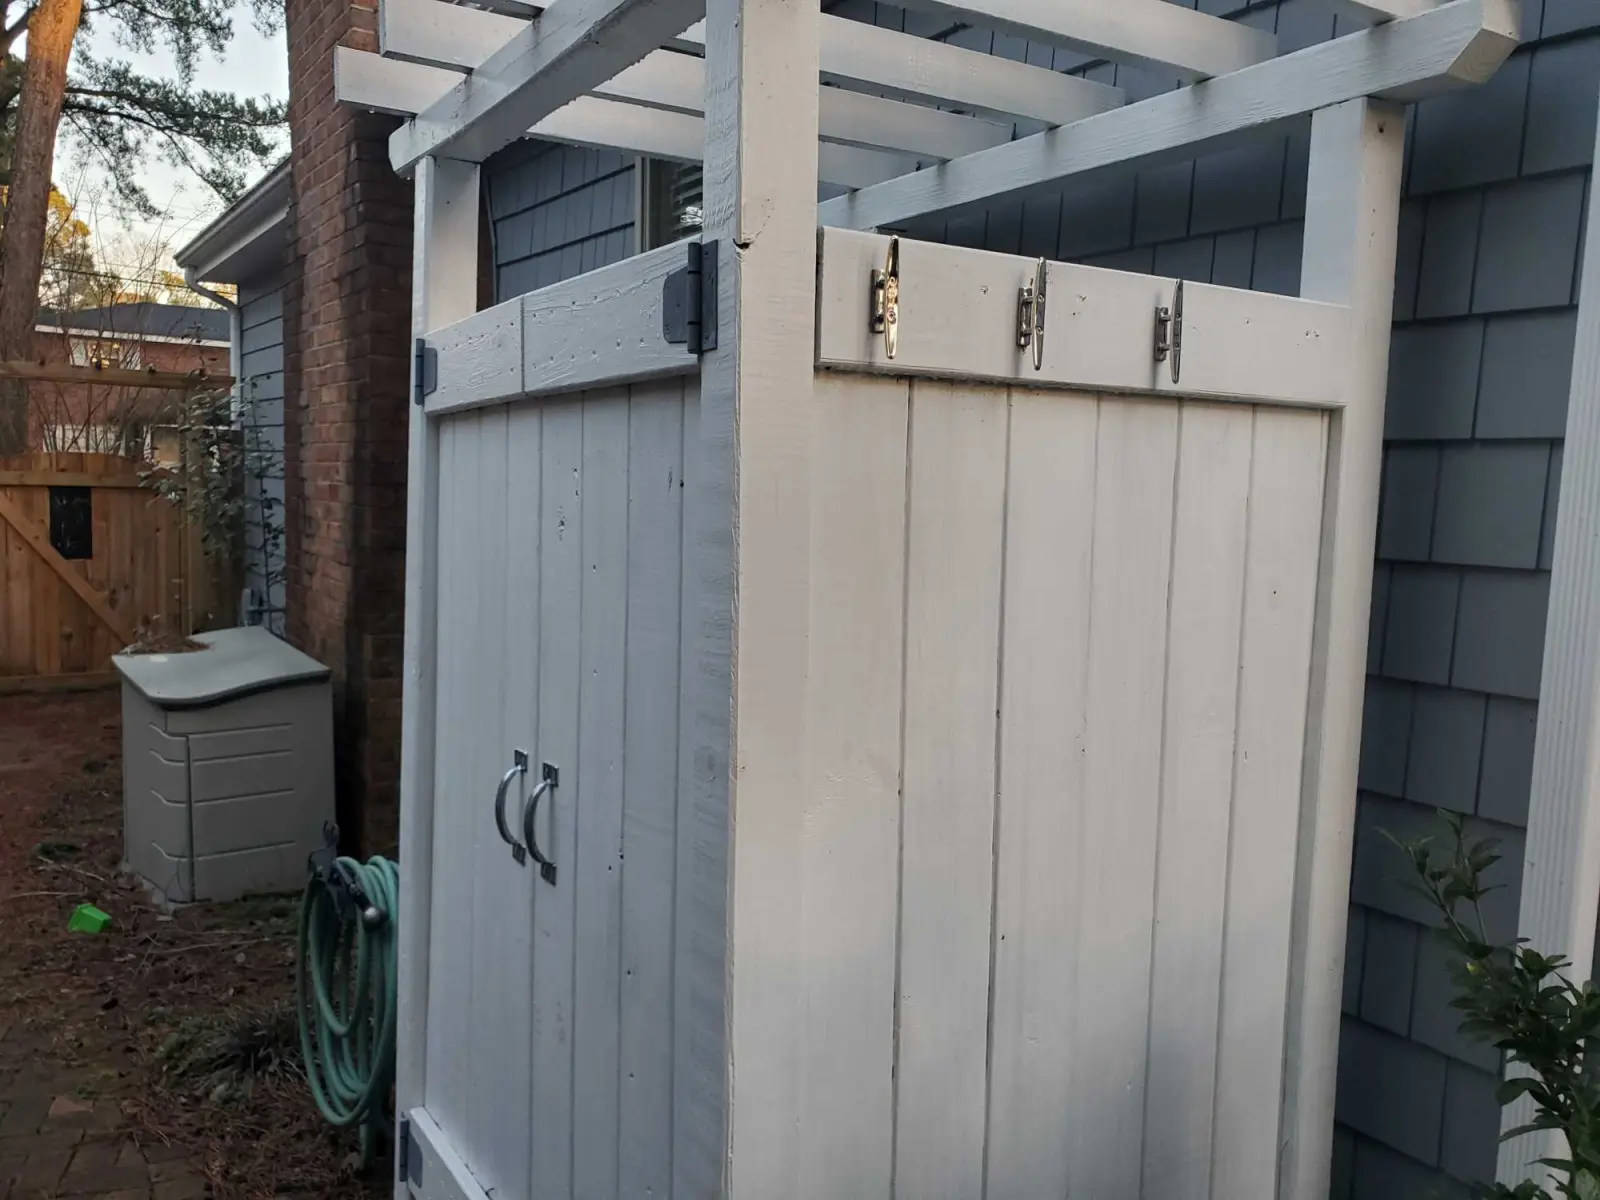
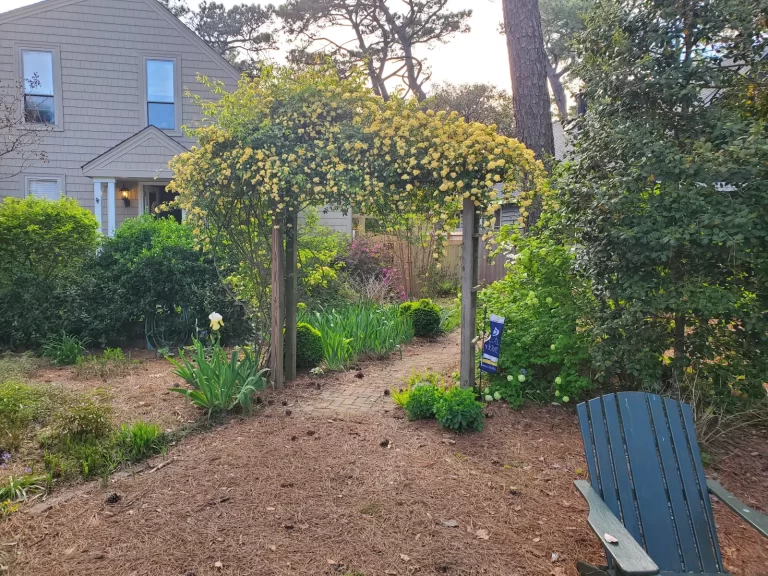
I started this project in March of 2021, during the COVID-19 pandemic and I was not making many trips to stores if I could help it. So I had all the outdoor rated lumber for the project delivered from one of the big box home stores in the area. My main mistake with this project was not letting the wood dry long enough as the front left post warped pretty badly after I installed it. The project still worked out in the end, but I should have let it dry another week (instead of a few days) before starting. I also should have probably replaced it and redone part of the work as it is not very square and somewhat noticable. But it works great even if it doesn’t look perfect. I decided with an arbor style top to match our Lady Banks Rose Arbor and the gate seen in the picture above (which would soon be replaced as well.) After screwing the posts to the post anchors , I used two 4x4s screwed to the top as seen above. There are angles cut out of each end for a very small bit of flourish. Then 2x4s were screwed directly into the top 4x4s. The arbor design also gives it a little more rigidity. The old base was wood and screwed into the rest of the shower. Parts of it were bowed out, cracked, rotten, and had plenty of moss growing. On the plus side, we never had any draining issues. Our soil is fairly sandy, drains well, and the previous owner had also installed some plastic sheeting as flashing from the wall to about a foot away from the wall to help divert the water away from the foundation.
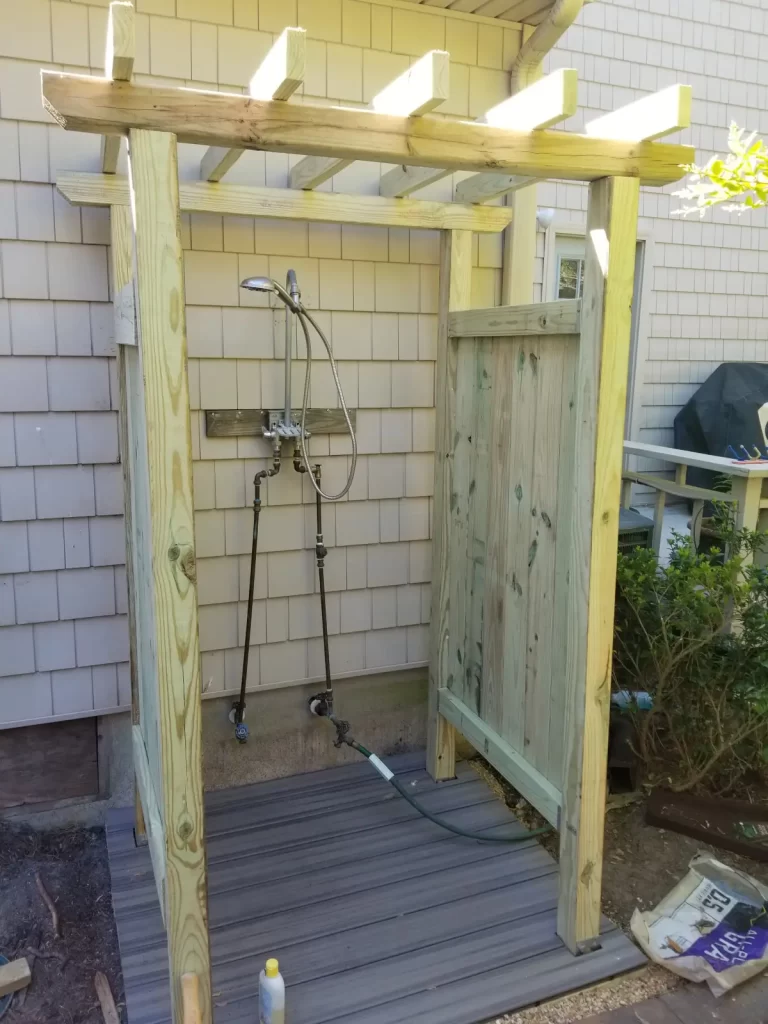
As we didn’t see any draining issues, we didn’t do much to the ground to prep. We dug down a couple of inches and replaced the dirt with gravel to keep the water a little further away from the wood. We used Trex decking screwed to three outdoor rated 2x4s laid sideways and placed the floor directly onto the gravel. The floor isn’t attached to anything, so if any of it does start to rot, we can unscrew the Trex from the 2x4s and replace them and place it back down without much effort. The shower does not get a lot of sun during the day, so the artificial decking doesn’t get hot as I have heard it sometimes does in direct sunlight. For the walls, I used 2x4s at the top and bottom attached with more Simpson Strong-Ties to the inside portion of the 4×4. These were the Steel Rail Brackets for Wood Fence items. I then screwed in some 1×6 fence boards side by side. I had planned out the depth of the shower so I could screw them in without having to cut any length-wise. On the outside of the shower, I then screwed in some 1×4 boards at the top and bottom of the panel for a trim effect that is fairly flush with the 4×4 posts. These panels are about a foot off the floor and 4′ tall (5′ tall at the top), giving us plenty of privacy.
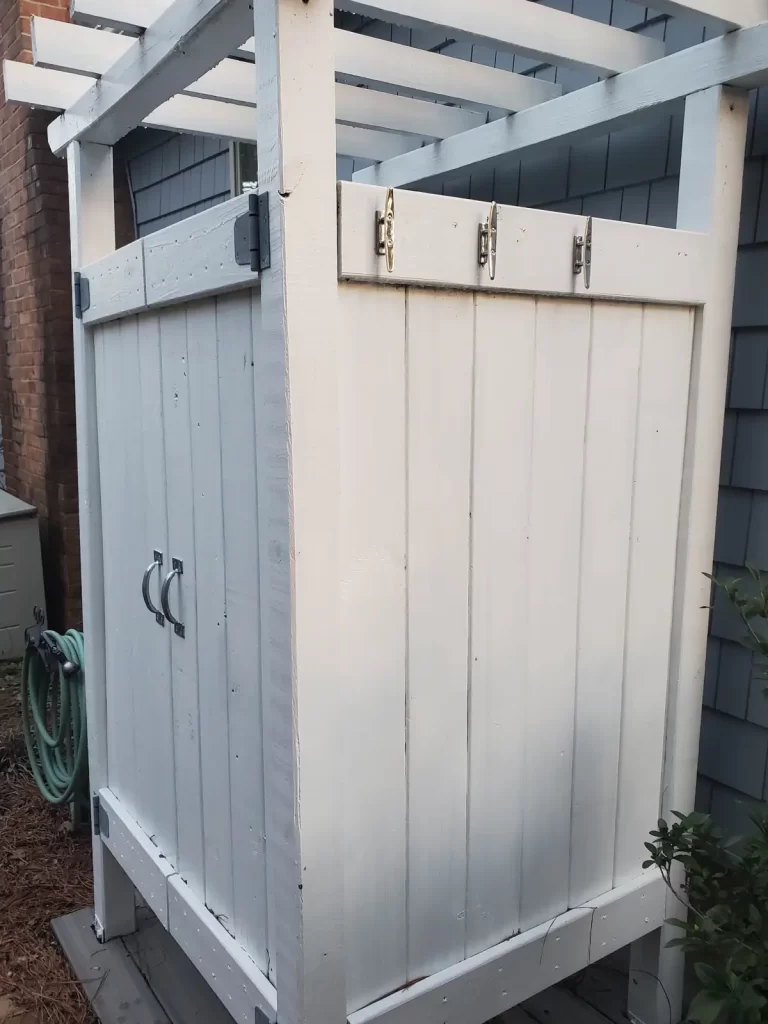
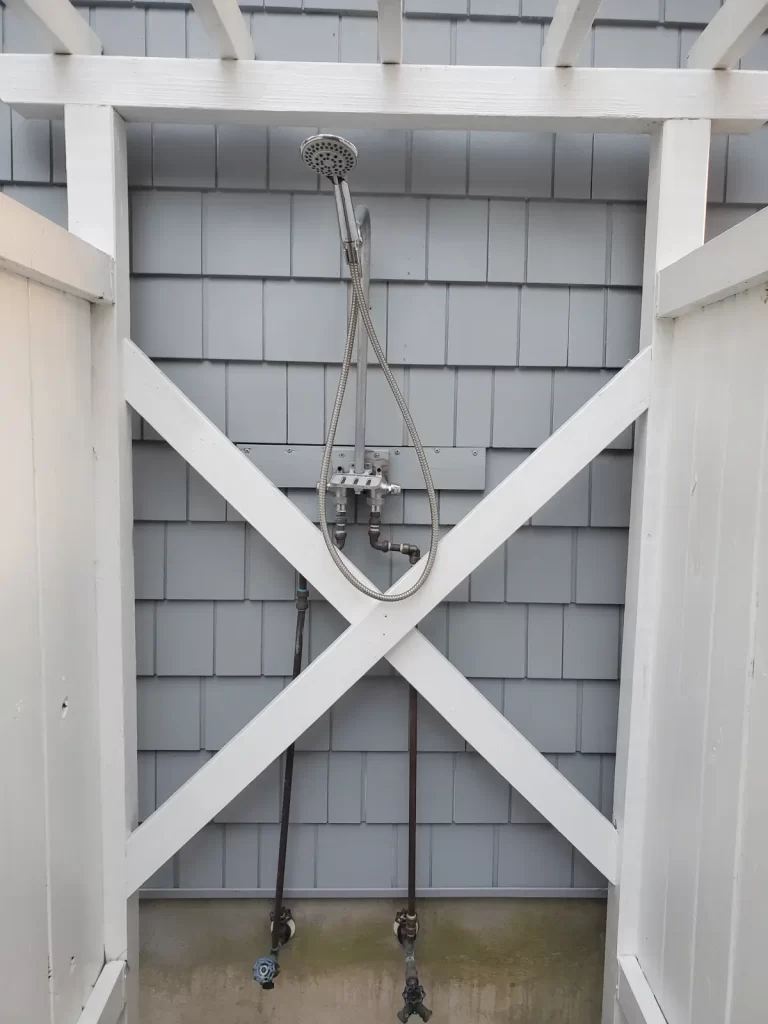
We used the same panel design for the front double doors, but added diagonal compression bracing on the inside of the door as well. We used simple gate handles and hinges. I tried using rare earth magnets drilled and glued near the hinges to keep the doors shut but not locked, but they weren’t strong enough. The doors stay shut pretty well on their own, and if we’re expecting a storm I can just tie the handles together. I also added diagonal bracing on the back of the shower for extra horizontal rigidity. The shower pipes had frozen earlier in the winter as I had not winterized it properly, and one of the Shark Bite fittings broke. It was an easy thing to replace, but at close to $20 per fitting, it was a pricey lesson to learn. The shower head also broke, so that got replaced when I finished the stall. To finish off the update, I went with a white exterior paint for the posts, walls, doors, and arbor top to add water resistance for the wood. The last touches were some boat cleats mounted vertically on the walls to hang towels and clothes.
