Replacing a Broken Yard Arbor
After we agreed to purchase our house, but before the close date, lightning struck a tree in the front yard. We believe the lightning knocked over the arbor next to the tree, or knocked a limb onto it, knocking it over. We did ask the owners to fix it before they moved out, but they were unable to do so. Overall the purchase went very smoothly and they were very friendly, so this wasn’t a big deal and gave me a smaller project to work on.
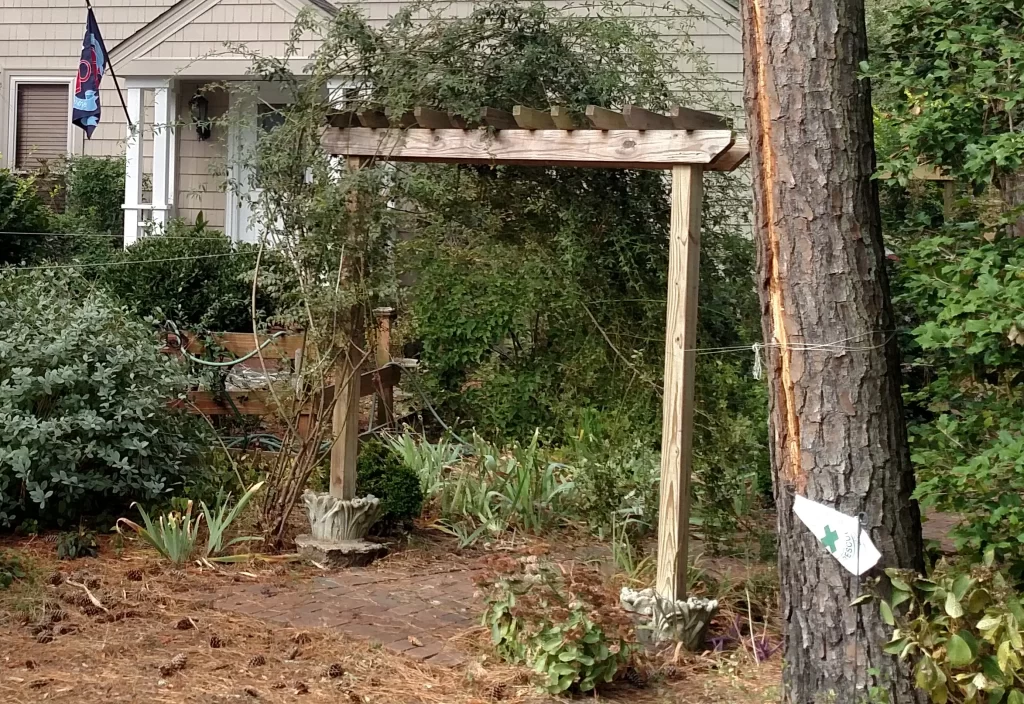
Our front yard is essentially an English garden, with dozens of different plants and flowers, with scents of rosemary, scents of gardenias, azaleas, mint, snapdragons, lilies, and more. The previous owner built an arbor with a Lady Banks Rose bush climbing over it. Turns out that a decently grown Lady Banks Rose bush is pretty heavy. The arbor was placed in concrete planters with spots for 4x4s, and only maybe 6-12″ of concrete under the planter, so the arbor was not really anchored in the ground. So when the lightning or limb knocked it over, it wasn’t going to easily stay back up now that the rose bush had moved and fallen off part of the arbor. So I decided to replace it completely. Luckily I was able to reuse much of the wood in other projects.
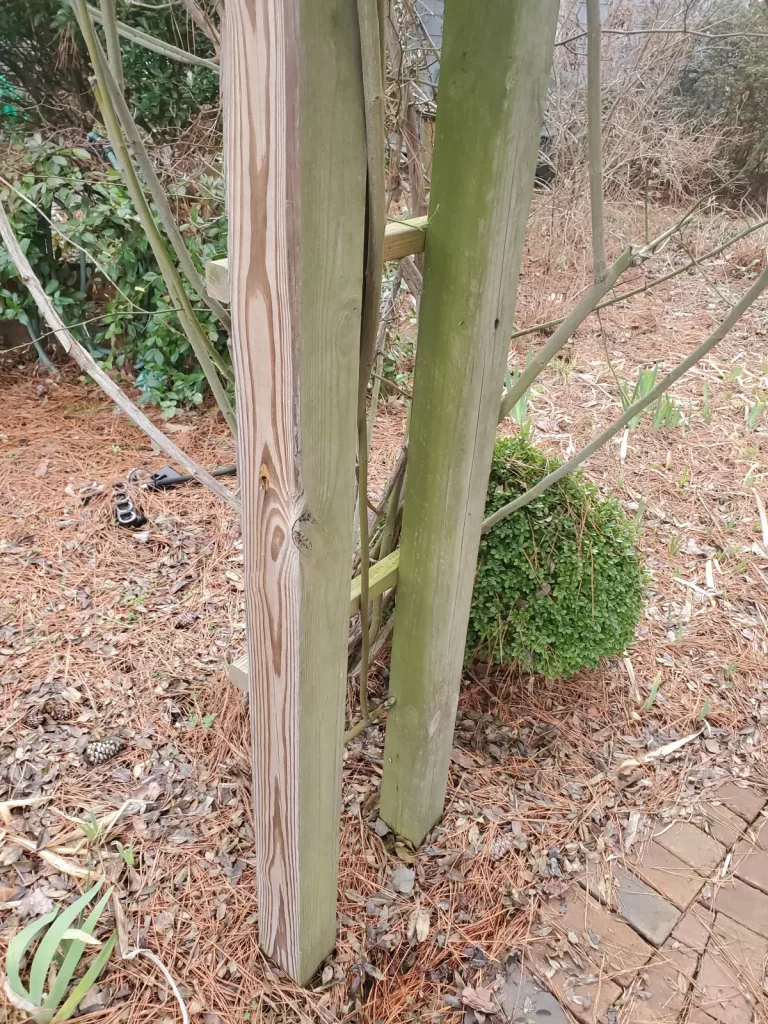
So after pulling down the old arbor, dismantling it, and putting the rose bush off to the side, the first thing I did was call 811. Well, I didn’t call, but I filled out a form online to have our front yard marked. I know our gas line goes pretty close to the arbor and the last thing I needed was to break the gas line or get fined if I hadn’t called before digging and broke it. Luckily the previous owner had not put the posts in concrete, so I could pick wherever I wanted to put the new posts. As the rose bush was fairly heavy, I decided to go with four posts instead of two for a stronger build.
Tools & Materials Needed
- 4″x4″x10′ outdoor rated lumber. This lets you put your posts 2′ into the ground and go up to about 7′ high. So cut them down to 9′ long.
- 4″x4″x8′ outdoor rated lumber. These will be the tops of the arbor.
- 2″x2″ outdoor rated lumber. How much you need depends on how far apart the posts are and how many cross braces you want to add on the sides and top.
- 6″ screws for screwing the top 4x4s to the top of the posts
- 3″ screws for screwing the 2x2s to the posts and top.
- Post Concrete for anchoring the posts into the ground.
- Gravel
- Drill
- Circular Saw / Miter Saw
- Tape Measure
- Pencil
- Level
- Post Hole digger (or narrow shovel) for digging the post holes.
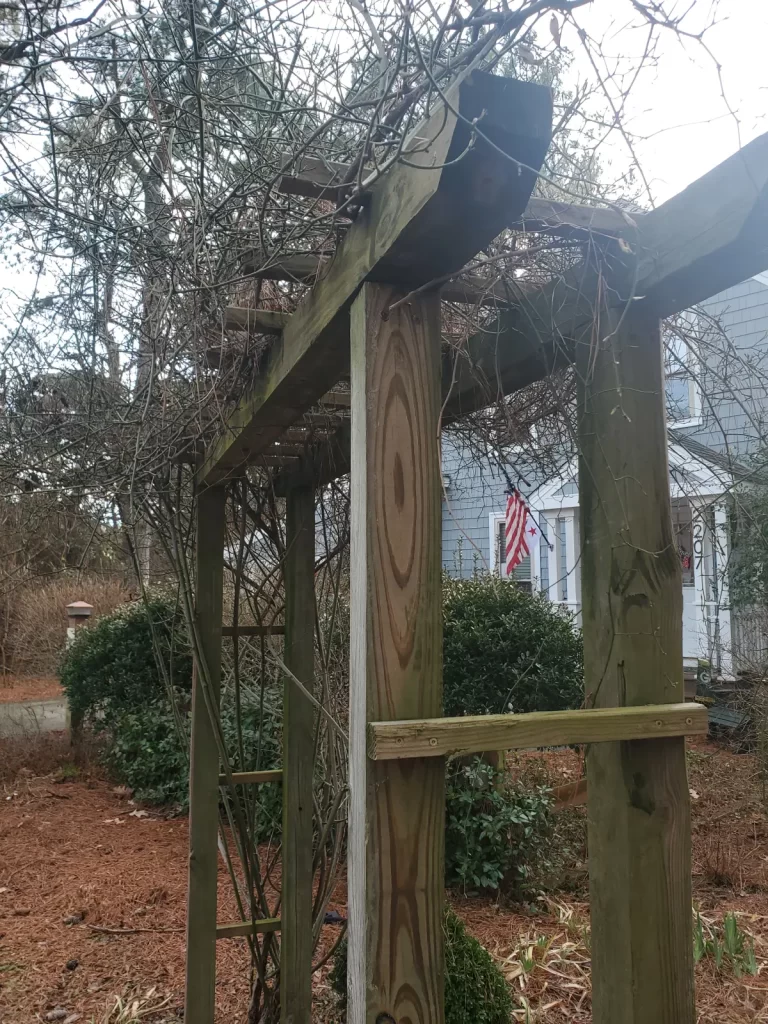
So once you have your supplies ready, pick out where you want the posts to be. I spaced ours with approximately 1′ of space between them. I cut the 2×2 boards to 19″ to account for the 4×4 width and screwed three of them to two 9′ posts, equally spaced from the ground and the top of the post accounting that 2′ of the posts would be underground. Attaching the braces beforehand let me worry a little less about leveling them perfectly in line together when I put them in the ground. I used two screws on each post per board, or four screws total per board, which keeps the posts from skewing. You can then dig your post holes to about 2 1/2 feet deep. Pour in 6 inches of gravel to help water drain away from the bottom of the posts. Next you can put your posts in and use scrap wood screwed to the side and angled to the ground to brace it level vertically. Do the same with the opposite posts, making sure to measure so they’re the same distance apart and square to each other. The post concrete is pretty easy to use, just follow the instructions on the bag.
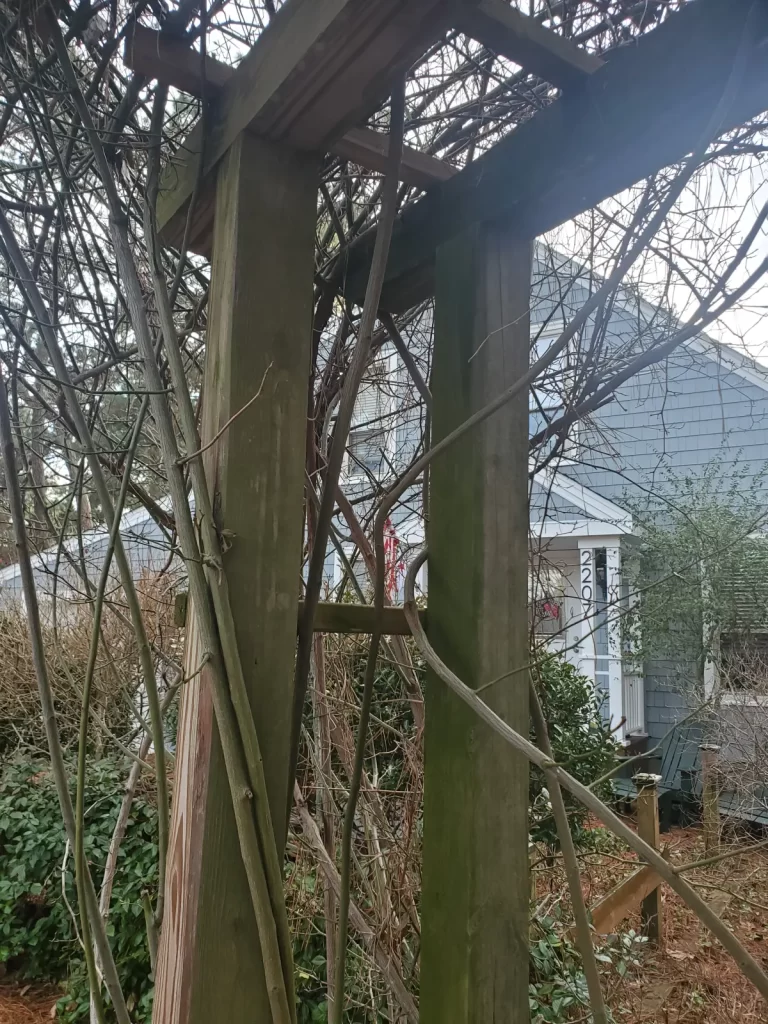
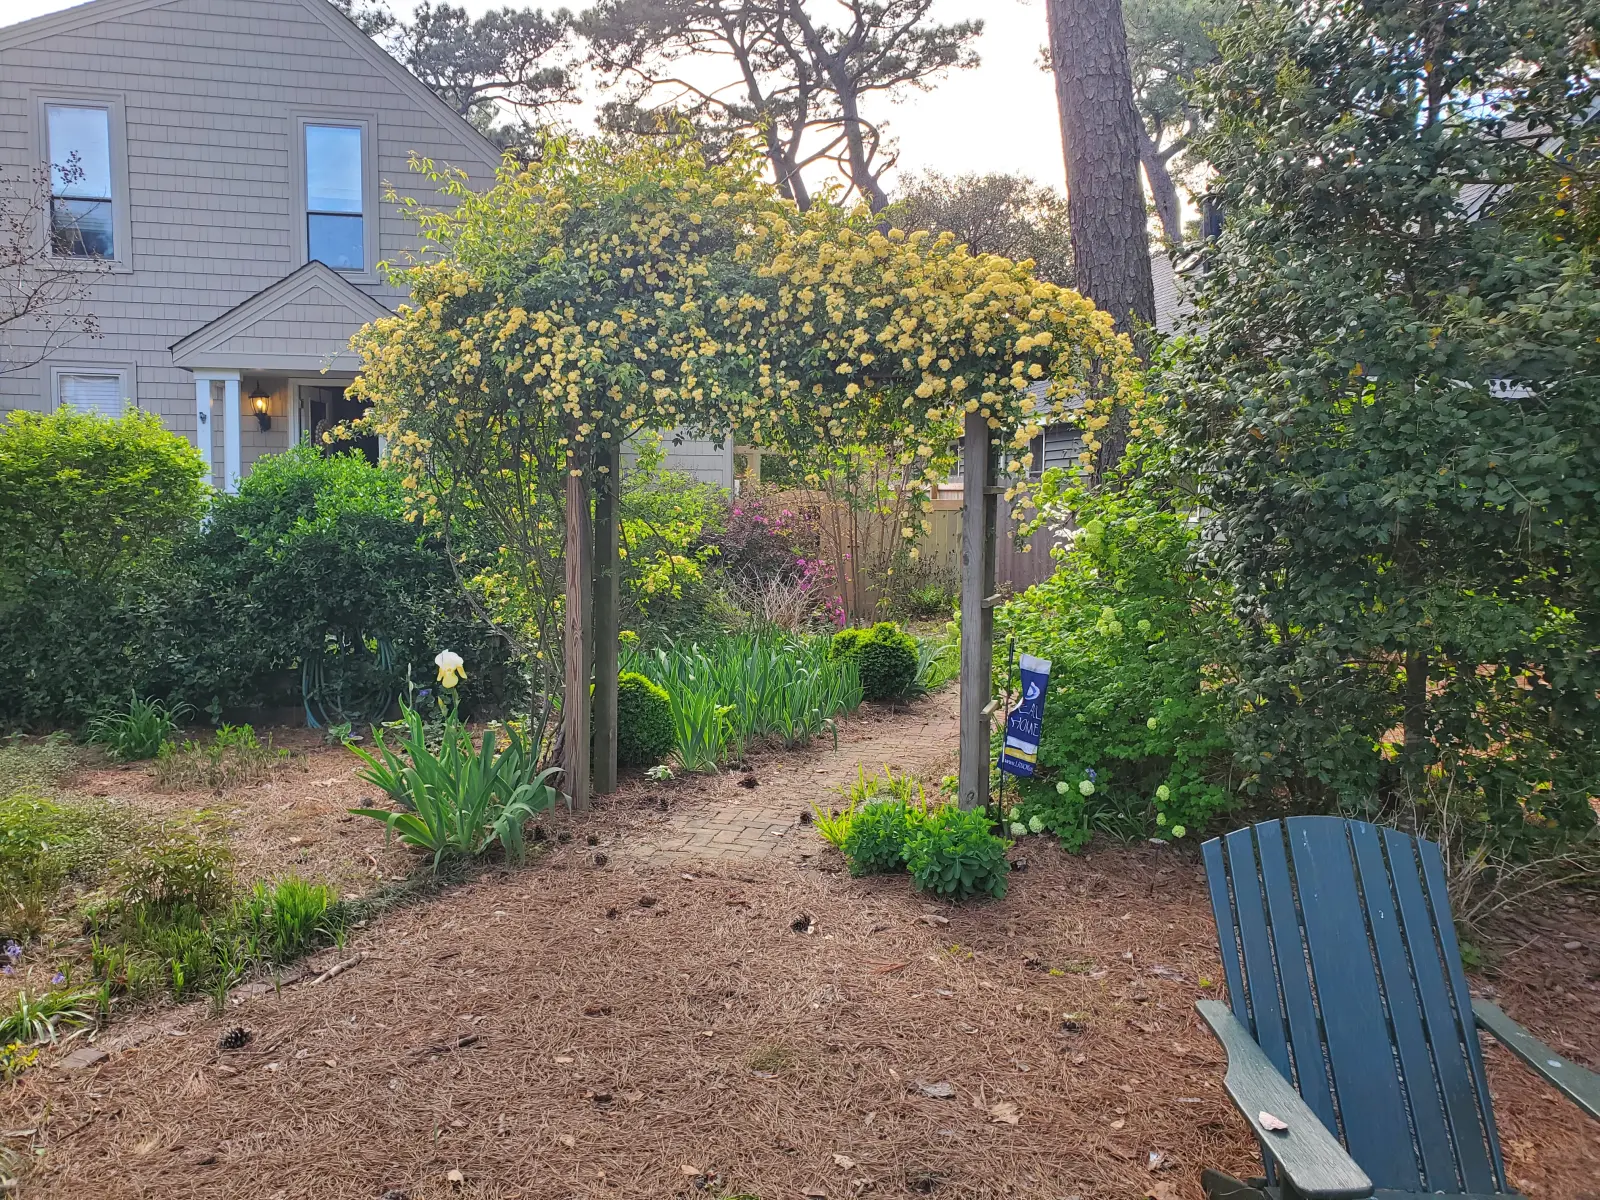
After the concrete has hardened enough, you can screw the top 4x4s to the posts with the longer screws. I left about a foot overhang on each side and cut an angled notch for aesthetics. It’s nothing fancy but it adds a little bit to the look. I then cut and screwed more 2x2s across the top with about 4 inches of overhang on each side. I placed them fairly close together to give the roses plenty of support. You can stain or paint the arbor if you want, but we left ours unfinished. After everything was ready to go I got a ladder and put the roses back on top of the arbor, and they have really filled in great. You can see in the main photo that we cut down the tree next to the arbor. Unfortunately the lightning killed it as well as another pine tree a few feet away that probably had intertwining root systems.

